Introduction:
We are pleased to announce the latest release and completion of our Solid <> Fleetbase implementation funded by NLnet .
We have now updated our UI for installing the Fleetbase <> Solid Extension & also managing your Solid Servers & Pods in Fleetbase.
You can see the full code release here:
Developer/User Guide: Fleetbase Solid Extension
This guide provides detailed instructions for integrating the Solid extension with your Fleetbase account. Solid is an innovative technology that lets users store their own data in personal online data stores, called "Pods," that they control. By using the Solid extension on Fleetbase, users can manage their data directly through the Fleetbase interface.
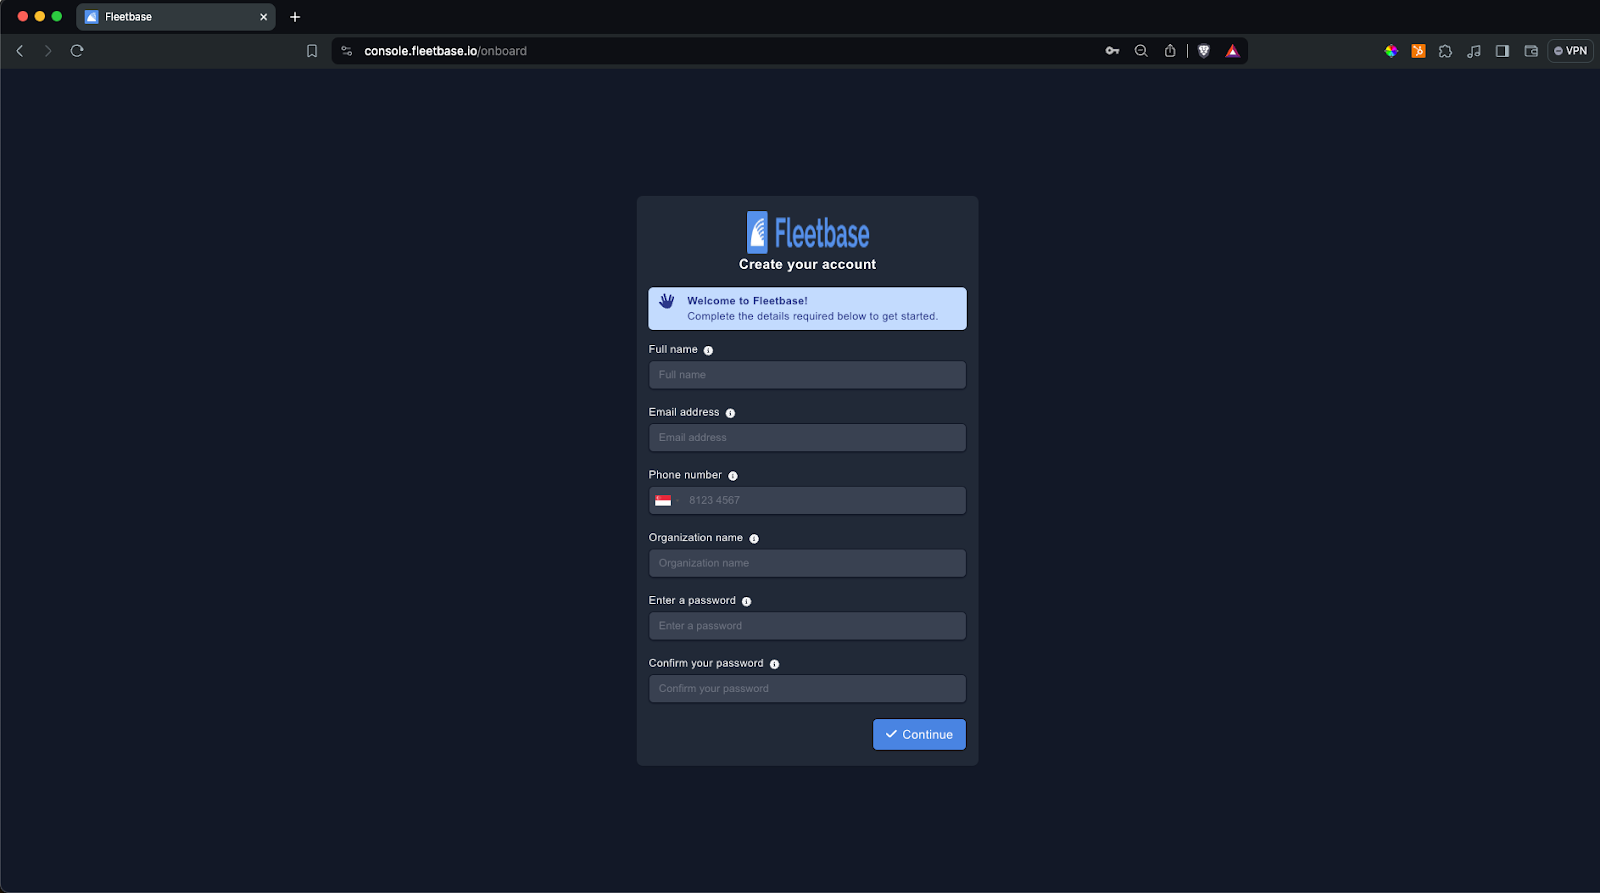
1. Create a New Fleetbase Account
If you don't already have a Fleetbase account, you'll need to create one:
- Go to the Fleetbase website.
- Click on "Sign Up" and follow the registration process.
- Verify your account as required.
2. Install the Solid Extension
Once your Fleetbase account is active, follow these steps to install the Solid extension:
- Log in to your Fleetbase dashboard.
- Navigate to the Extensions section.
- Find the Solid extension and click "Install."
- Fleetbase Extensions Registry will be launching Q3 2024
3. Admin Configuration
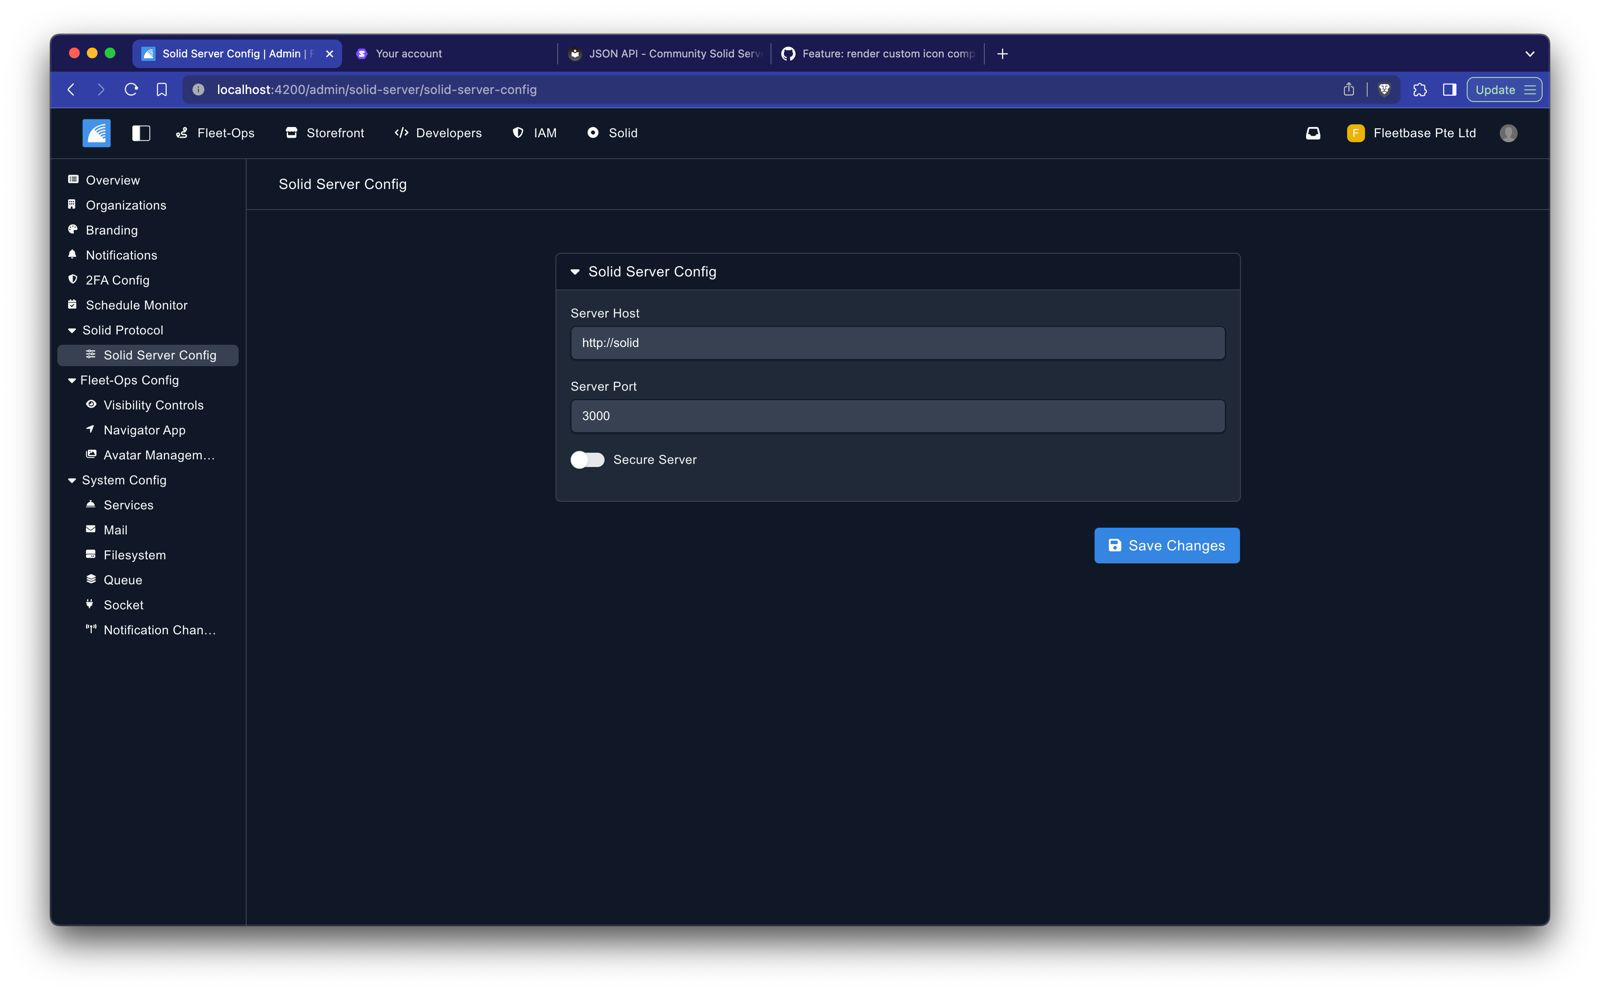
As an admin, you need to set up the Solid server for your organization:
- After installation, navigate to Admin so you can configure the Solid extension settings.
- Input the Solid server ID where your organization's data will be stored. This might be a private server or a service like solidcommunity.net
4. Get Started with Solid
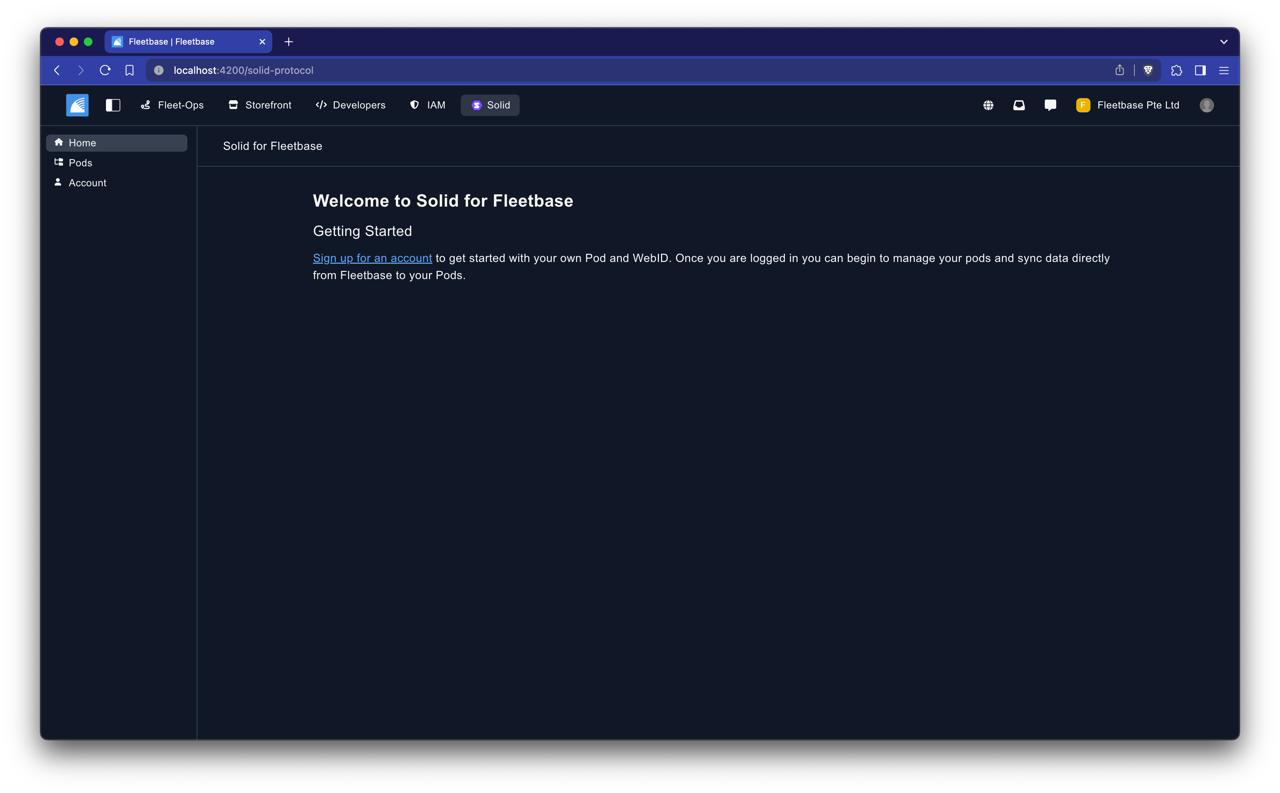
Users must individually sign up for a Solid account:
- Click ‘Sign up for an account’ or Visit https://solidcommunity.net/register or your organization's own Solid server.
- Complete the registration process to create a new Solid account.
5. Retrieve Your Web ID
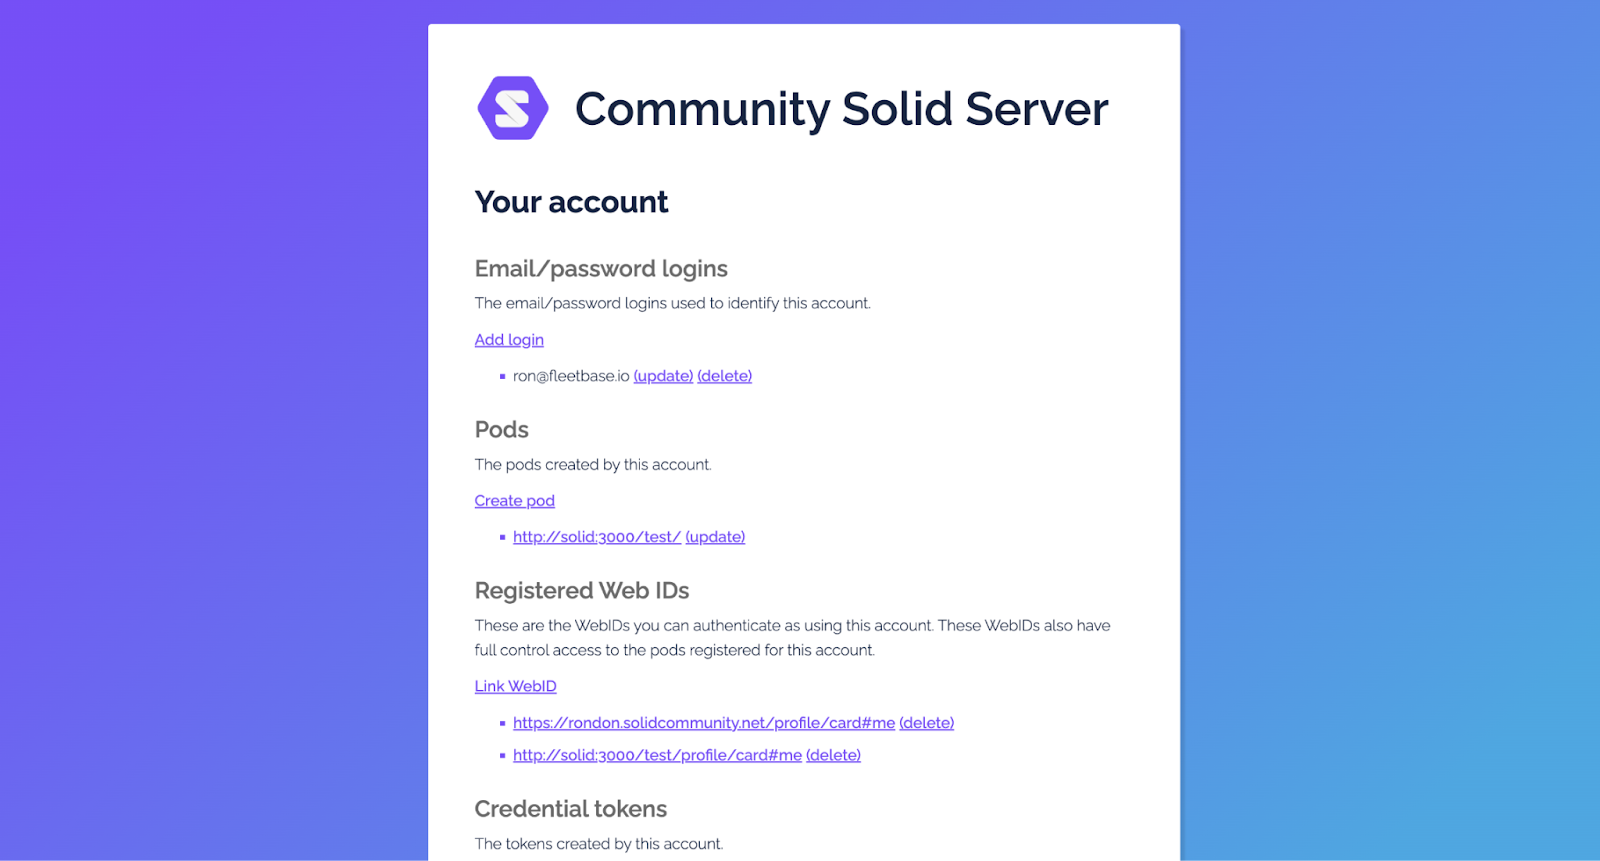
Your Web ID is your unique identifier in the Solid ecosystem:
- After registering, your Web ID will typically be displayed on your Solid dashboard.
- Note this Web ID as it will be used to link your Solid account with Fleetbase.
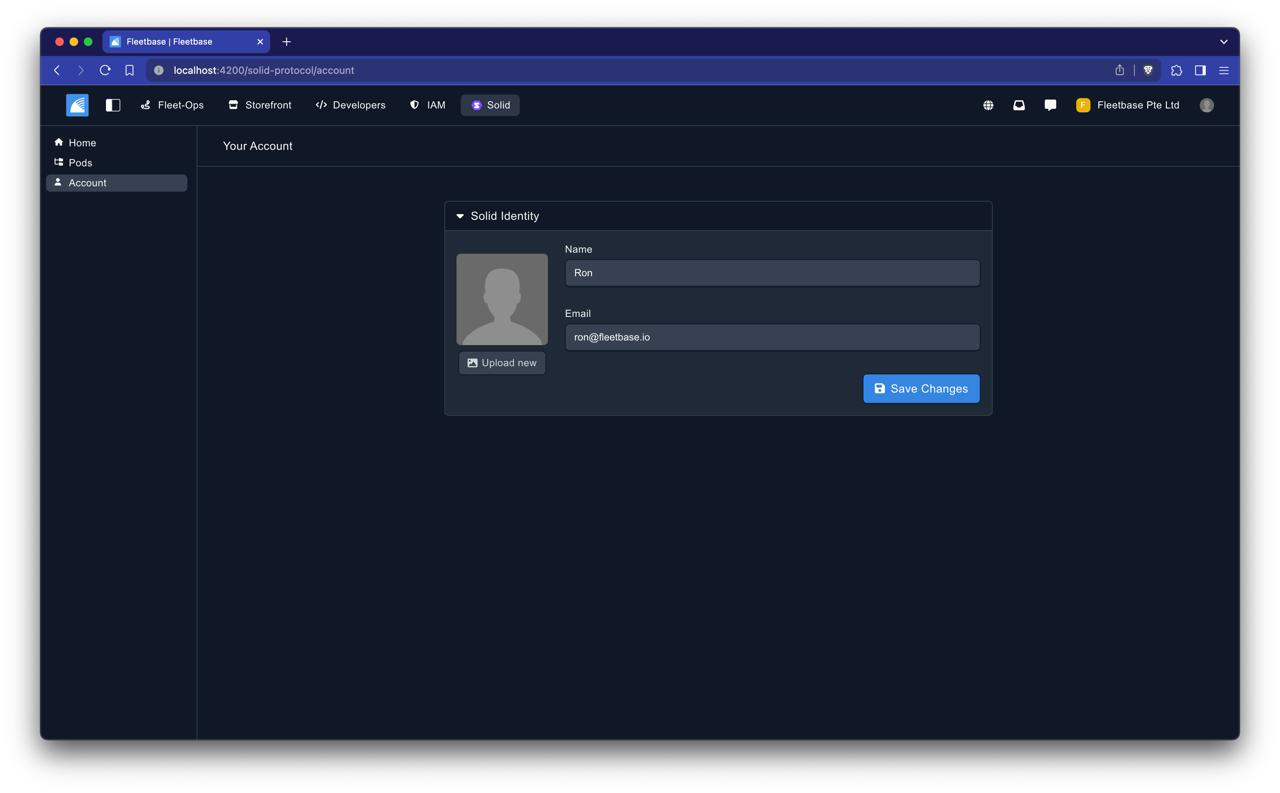
6. Navigate to ‘Account’ in Fleetbase
Once your Web ID is set up:
- Go back to Fleetbase and navigate to the ‘Account’ section.
- Your User details should be pulled in automatically if properly configured.
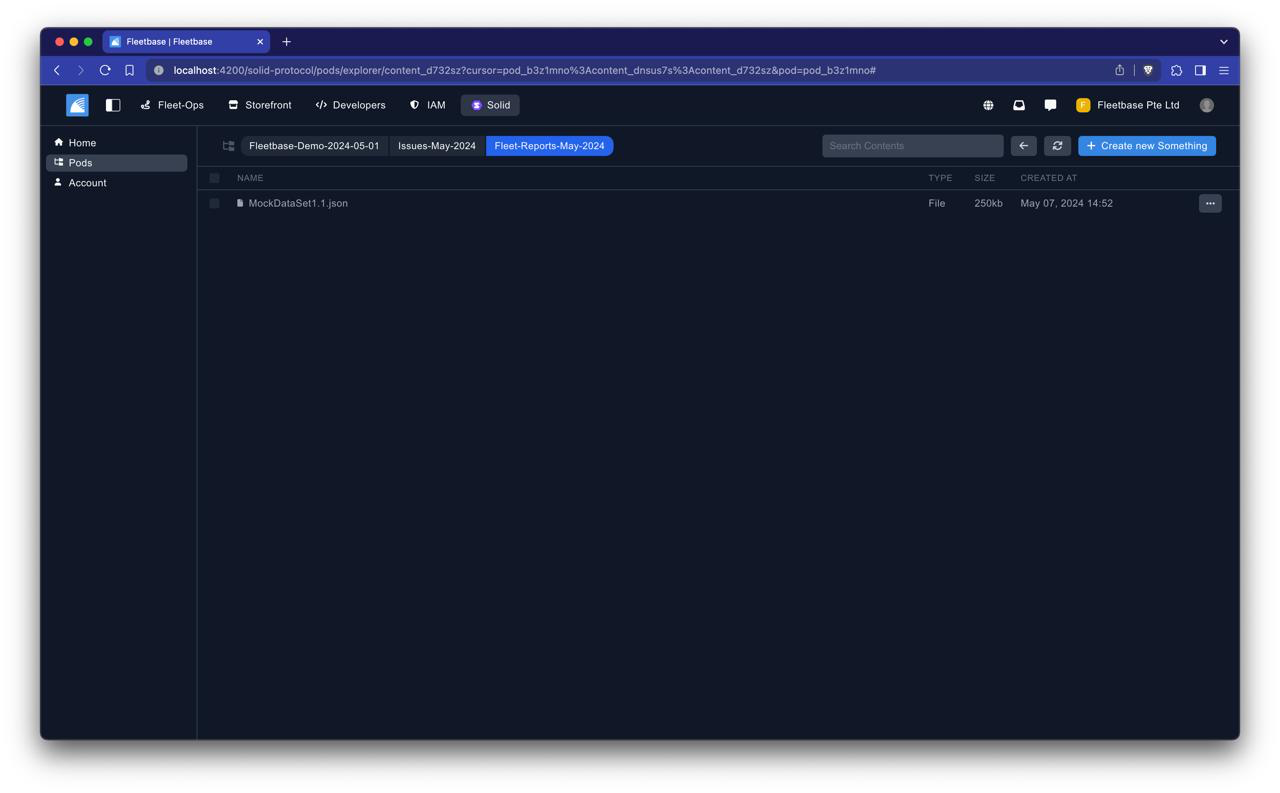
7. Navigate to Pods
To manage your Pods:
- In Fleetbase, find and navigate to the ‘Pods’ section after linking your Solid account.
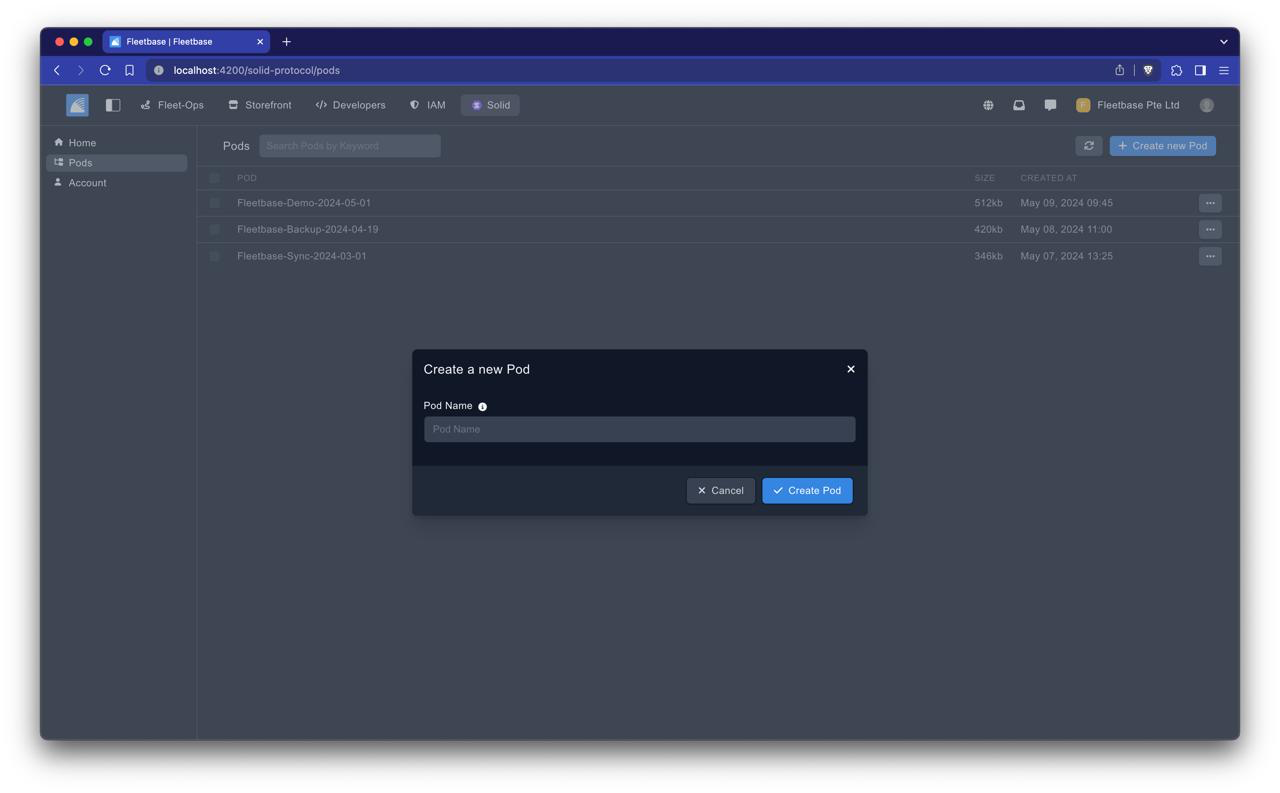
8. Create a New POD
Here’s how to create a new POD:
- Click “Create New POD.”
- Enter a name for your POD and submit.
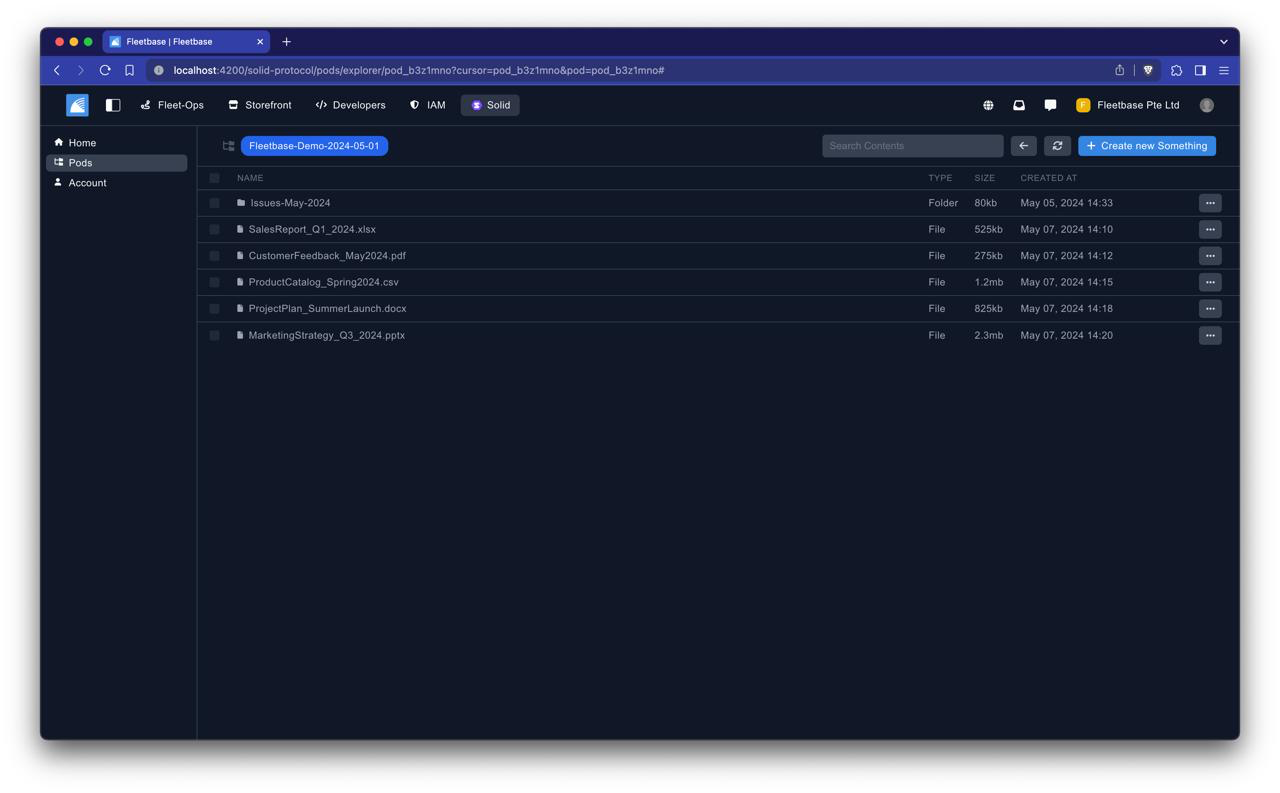
9. Manage Files/Folders in PODs
To access and manage data within a POD:
- Click into the POD you wish to view.
- You’ll see files and folders stored in this POD
10. Operations on PODs
- Select Box Delete: To delete files or folders, select them and use the delete option.
- Re-sync / Back Up the PODs: To ensure your data is up-to-date, use the re-sync option to resynchronize the data in the POD.
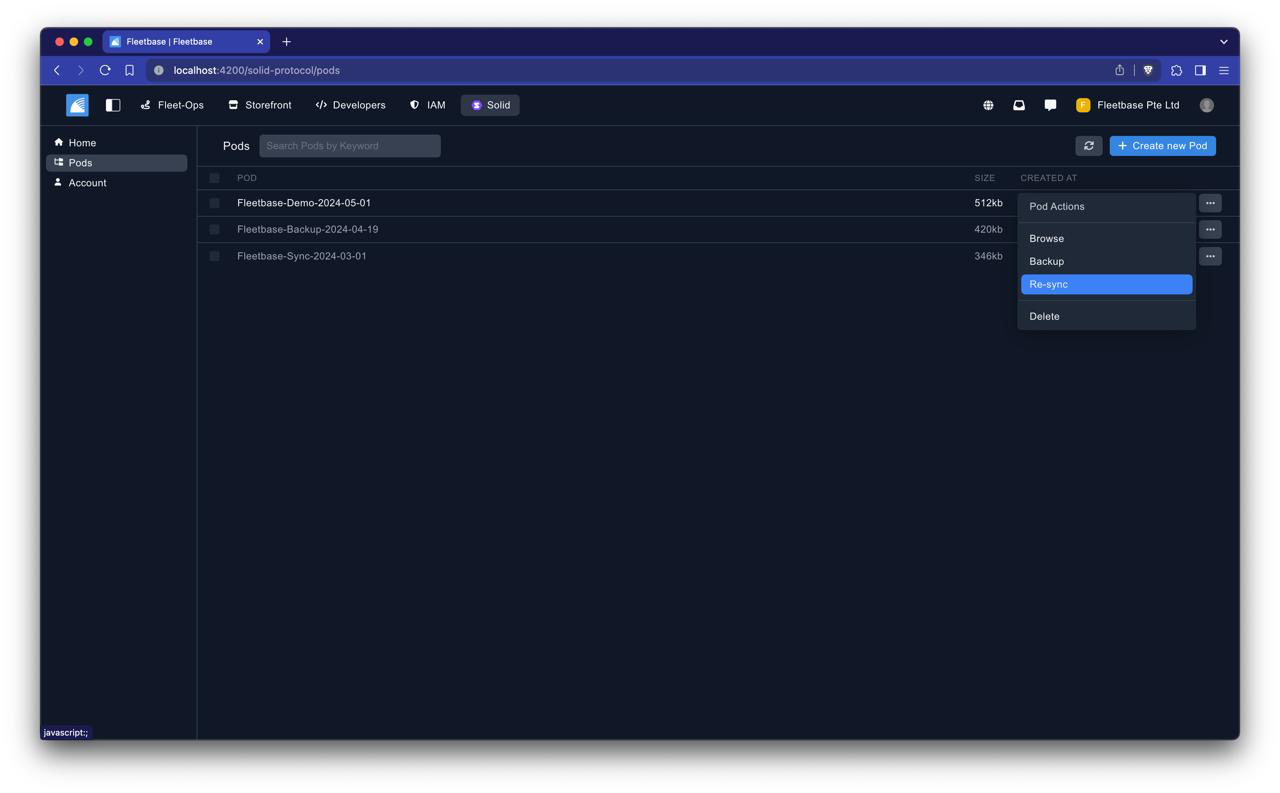
11. View Data in Pods
To view specific data within a POD:
- Simply click on the file or folder you are interested in within the POD interface in Fleetbase.

Next:
We will continue work on completing the Sold <> Fleetbase integration with the following
- Further User Interface (UI) Enhancement for renaming Pods.
- Extensive User testing / bug fixes and production release.
Join Us on Our Journey
We invite you to stay tuned as we continue to innovate and elevate Fleetbase with Solid integration.
Together, we're reshaping the future of logistics data management, one milestone at a time.
Thank you for your unwavering support and trust in Fleetbase.
Funding
This project is funded through NGI0 Entrust, a fund established by NLnet with financial support from the European Commission's Next Generation Internet program.
Learn more at the NLnet project page: https://nlnet.nl/project/Fleetbase-Solid

.svg)


